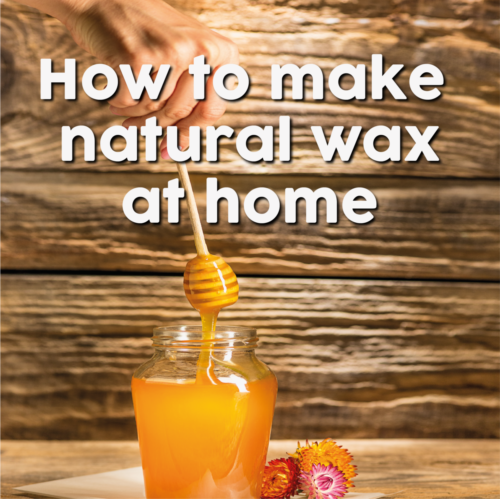
Are you tired of using synthetic waxes filled with chemicals and additives? Do you want to embrace a more eco-friendly lifestyle while enjoying the benefits of natural wax? Look no further! In this blog, we will guide you through the exciting process of making your own natural wax. By using simple and organic ingredients, you can create a versatile and environmentally friendly wax that is perfect for various applications. Get ready to embark on a journey of creativity and sustainability!

Another option is to make your own hair removal wax at home. But, DON’T PANIC !! This article will show you a simple recipe to make it on your own. We hope this blog might help you a little 😉
Understanding the Beauty of Natural Wax
When it comes to beauty and self-care products, many of us are becoming more conscious of the ingredients we put on our bodies. Synthetic waxes often contain petroleum-based additives and artificial fragrances that can have adverse effects on our health and the environment. That’s where natural wax comes in, offering a safe and eco-friendly alternative.
Exploring the downsides of synthetic waxes
Synthetic waxes are typically derived from petroleum, a non-renewable resource. The extraction and processing of petroleum contribute to environmental pollution and greenhouse gas emissions. Additionally, synthetic waxes often contain harmful additives such as phthalates, parabens, and artificial colors that can irritate the skin and have long-term health implications.
Embracing the benefits of natural ingredients
Natural wax, on the other hand, is made from organic and sustainable ingredients like beeswax and coconut oil. Beeswax is a natural substance produced by bees, known for its moisturizing properties and ability to create a protective barrier on the skin. Coconut oil is a versatile and nourishing ingredient that helps to soften and hydrate the skin.
By using natural wax, you not only eliminate the exposure to harmful chemicals but also contribute to a more sustainable and eco-friendly lifestyle. With its numerous applications, natural wax allows you to explore your creativity while taking care of yourself and the environment.
Gathering the Ingredients
To create your own natural wax, you’ll need to gather a few key ingredients. The primary components are beeswax and coconut oil, which work together to form a smooth and effective natural wax.

- Passion: Emotion to be acted upon. Without action, passion yields no worthwhile results. Passion is the fuel in the fire of action. When you have passion for something, you love it.
- Sugar: Pour 1 cup of sugar.
- Lemons:1\4 lemon juice (bottle organic it’s great but natural is better!
- Water or Honey: 1\4 cup of water (Alternately, you can use honey instead of water. Both are good ingredients.
By using high-quality ingredients, you can ensure that your natural wax is free from harmful additives and chemicals. These ingredients work harmoniously to create a luxurious and eco-friendly wax that can be customized to suit your preferences.
The DIY Process: Creating Your Natural Wax
Now that you have gathered your ingredients, it’s time to dive into the exciting process of making your own natural wax. With a few simple steps, you’ll be able to create a personalized and eco-friendly wax for your various applications.
Setting up a safe and efficient workspace Before you begin, it’s essential to set up a dedicated workspace that ensures safety and efficiency. Here are a few tips:
- Choose a well-ventilated area to work in, as melting beeswax can release a mild, natural scent.
- Protect your surfaces with parchment paper or a heat-resistant mat to prevent any wax spills or damage.
- Gather the necessary equipment, including a double boiler, heat-resistant glass or stainless steel bowl, a heatproof spatula or spoon, and a kitchen scale for precise measurements.
- Place the measured ingredients into the top bowl of the double boiler. Melt the sugar in a pot over medium heat.
- Once the sugar has caramelized, slowly add lemon juice and honey. Allow the ingredients to melt slowly over the simmering water, stirring occasionally with a heatproof spatula or spoon.
- To determine the desired consistency of your natural wax, you can perform a simple test. Take a small spoonful of the melted wax and place it on a plate or in the freezer for a few minutes. Observe the texture and adjust as needed. If the wax is too soft, add a bit more sugar. If it’s too hard, add a touch more water. Continue to melt, mix, and test until you achieve the desired consistency. Wax should be the consistency of batter. If the wax is too thick, add a small amount of water and stir.
- Remove the bowl from the heat and allow it to cool down until it looks and feels smooth for application.
Congratulations! You have successfully created your own natural wax.
Waxing Your Legs at Home: A Comprehensive Guide to Smooth and Silky Skin
Make sure the length of your hair is between 4 – 6 mm (if unsure, count aprox 4 weeks since your last hair removal application was done).
- Prepare your strips. If you don’t have strips already, you can cut up a cotton.
- Dust the area with baby podwer. This will make the process much less painful as the wax will stick much easier to your hair.
- Apply a thin layer of waxing using a spatula in the direction of the hair growth.
- Place the strip on the wax and remove it against the hair growth. Quick and painless!
- Apply aloe vera gel as an aftercare product or natural oil, if there are any areas that feel sticky.Easy, isn’t it? So now you know is your turn to try it. We hope this quick tips would help you.
Follow us on our social networks and have a look to our content. Constantly we will upload more quick tips in our instagram account.
Thank you for reading,
Bbonita.
No responses yet